
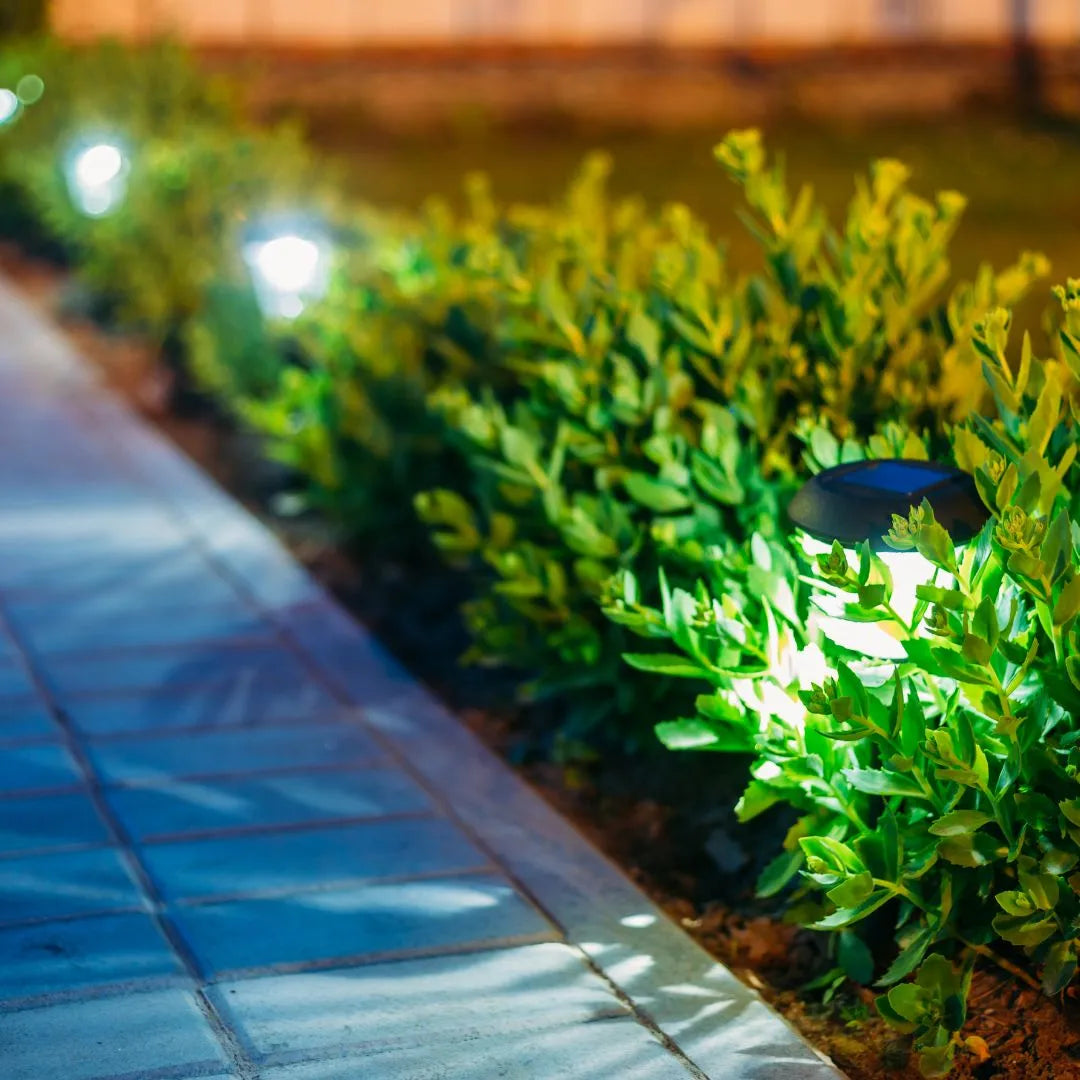
Outdoor lighting is an essential element of any well-designed outdoor space, providing safety, ambiance, and enhancing the beauty of your garden or patio. Solar-powered pathway lights are a cost-effective and eco-friendly option that can be easily installed without the need for electrical wiring. In this blog, we’ll guide you through the process of installing solar-powered pathway lights, transforming your outdoor area into a welcoming and well-lit space.
Materials Needed
- Solar-powered pathway lights
- Measuring tape
- Garden stakes or string (for marking)
- Shovel or garden trowel
- Hammer or rubber mallet (optional)
- Level
- Garden gloves
Step 1: Planning Your Lighting Layout Before you begin, plan the layout of your pathway lights. Consider the areas that need illumination, such as walkways, garden paths, or the perimeter of your patio. Measure the distance between lights to ensure even spacing and optimal coverage. Solar-powered lights typically work best when spaced 6-8 feet apart, but this can vary depending on the brightness and design of the lights.
Step 2: Choosing the Right Solar Lights When selecting solar-powered pathway lights, consider the style, brightness, and durability. Look for lights with high-quality solar panels and long-lasting batteries to ensure they stay illuminated throughout the night. You may also want to choose lights with weather-resistant materials to withstand outdoor conditions.
Step 3: Preparing the Ground
Before installing the lights, prepare the ground along your planned layout. If you’re installing the lights along a pathway, ensure that the path is clear of any obstacles like rocks, roots, or debris. Use a garden trowel or shovel to level the ground where each light will be placed. This ensures that the lights stand straight and are securely anchored in the soil.
If you’re installing the lights on a harder surface, like a patio or concrete path, you may need to use mounting brackets or adhesive pads designed for solar lights. Follow the manufacturer’s instructions for these installations.
Step 4: Marking the Placement
To achieve a consistent and professional look, mark the spots where each light will be installed. You can do this by placing garden stakes or using a piece of string to outline the path. This step helps you visualize the final placement and ensures that the lights are evenly spaced.
Double-check your measurements and adjust the placement as needed. The lights should create a cohesive and aesthetically pleasing pattern, whether they’re lining a garden path or highlighting key features in your landscape.
Step 5: Installing the Solar Lights
Now that the placement is marked, it’s time to install the lights:
-
Insert the Stakes: Most solar-powered pathway lights come with stakes for easy installation. Push the stake into the ground at each marked spot. If the ground is particularly hard, you can use a hammer or rubber mallet to gently tap the stakes into place, but be careful not to damage them.
-
Attach the Light Fixture: Once the stakes are in place, attach the light fixture to the top of the stake according to the manufacturer’s instructions. Ensure that the solar panel is positioned to receive maximum sunlight during the day.
-
Check the Level: Use a level to make sure each light is standing straight. Adjust the stake if necessary by pushing it further into the ground or repositioning it slightly.
-
Test the Lights: After installing all the lights, test them to ensure they are working properly. Most solar lights have a switch or button to turn them on. Make sure they are set to the desired mode (such as steady light or motion detection) and check that they illuminate the area as intended.
Step 6: Maintaining Your Solar Lights
To keep your solar-powered pathway lights working efficiently and looking their best, regular maintenance is essential:
-
Clean the Solar Panels: Dust, dirt, and debris can accumulate on the solar panels, reducing their efficiency. Clean the panels with a soft cloth and soapy water every few months or as needed to ensure they receive maximum sunlight.
-
Check for Damage: Inspect the lights periodically for any signs of damage, such as cracked lenses or loose connections. Replace or repair any damaged components to keep the lights functioning properly.
-
Adjust for Seasonal Changes: As the seasons change, the angle and intensity of sunlight can affect the performance of your solar lights. Adjust the positioning of the lights if necessary to ensure they continue to receive adequate sunlight throughout the year.
-
Replace Batteries: The rechargeable batteries in solar lights typically last 1-2 years. If you notice the lights dimming or not staying lit as long as they used to, it may be time to replace the batteries. Use the recommended type of battery for your specific lights.
Step 7: Enhancing Your Outdoor Lighting Design
Once your pathway lights are installed, consider adding other types of solar-powered lights to further enhance your outdoor space. Here are a few ideas:
-
Accent Lighting: Use solar-powered spotlights to highlight specific features in your garden, such as trees, statues, or water features. This adds depth and visual interest to your landscape.
-
String Lights: Hang solar-powered string lights along a fence, pergola, or patio for a festive and charming ambiance. They’re perfect for creating a cozy atmosphere during outdoor gatherings or summer evenings.
-
Deck and Stair Lights: Install solar-powered lights on deck railings or stair risers to improve safety and visibility at night. These lights can also add a decorative touch to your outdoor living space.
-
Motion-Activated Security Lights: For added security, consider installing solar-powered motion-activated lights around the perimeter of your home. These lights will automatically turn on when they detect movement, providing both illumination and peace of mind.
Conclusion
Installing solar-powered pathway lights is an easy and eco-friendly way to enhance the beauty and functionality of your outdoor space. Whether you’re lighting a garden path, driveway, or patio, these lights provide an elegant solution without the need for complicated wiring or high energy costs. With a wide variety of styles and designs available, you can customize your outdoor lighting to suit your personal taste and needs.
Visit your local hardware store to find the perfect solar lights for your home, and start transforming your outdoor area into a well-lit and welcoming retreat. With just a little time and effort, you can enjoy the benefits of beautiful, energy-efficient lighting in your garden or yard for years to come.